


 English
TURN-KEY PCB ASSEMBLY: BITTELE ELECTRONICS
PCB MANUFACTURING AND ASSEMBLY
Full Turn-Key PCB Manufacturer
You can quickly get quotes and order PCB fabrication and assembly using our online system. Take advantage of exclusive automatic discounts with our tool. Our BOM pricing tool ensures you receive the lowest price for your order.
START A TURN-KEY PCB ORDER
How to export Gerber files from Protel 99se
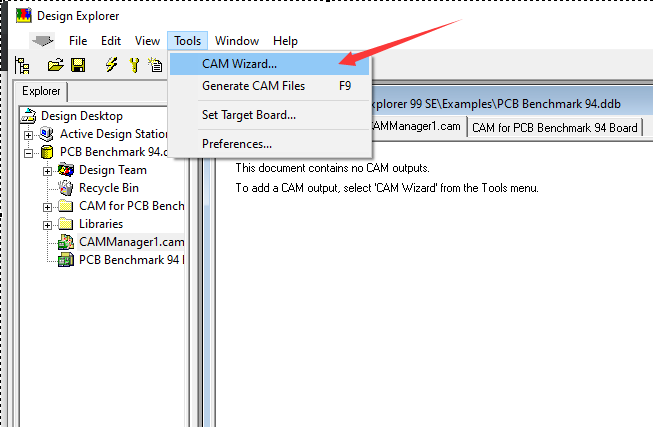
To export the PCB files into Protel, select Tools > CAM Wizard.
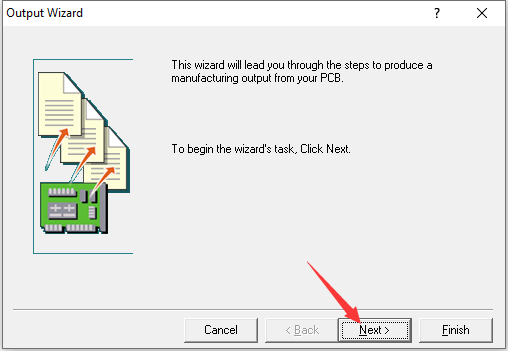
On the following menu, select Next.
On the following menu, select Generate Gerber files.
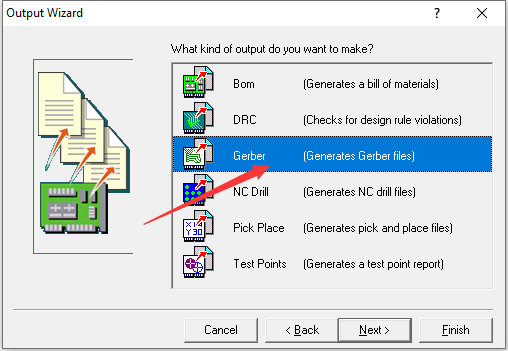
You can then name your Gerber files accordingly.
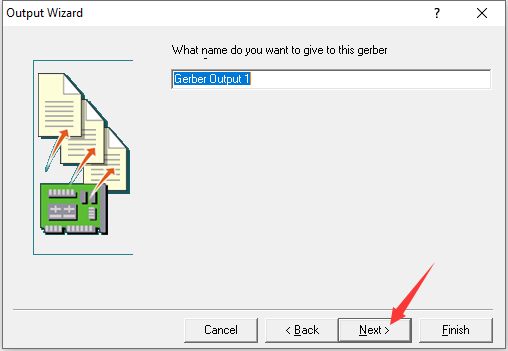
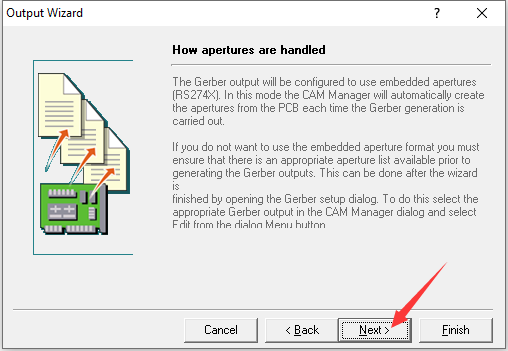
On the following menu, select Next.
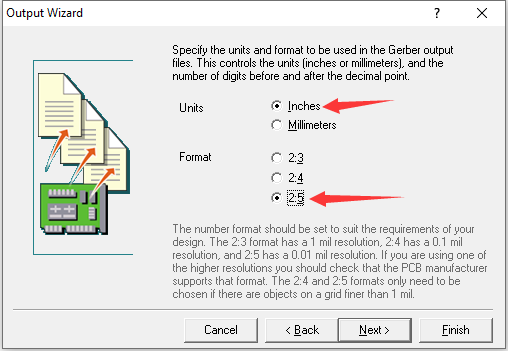
On the following menu, select Inches (default) for the units. Depending on the requirements of your design, you will need to select the appropriate format (Bittele supports the highest resolution, so you may select 2.5). Click Next.
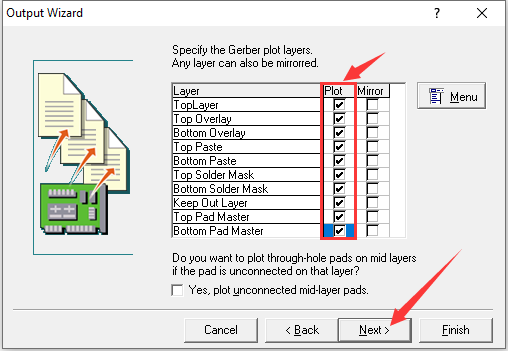
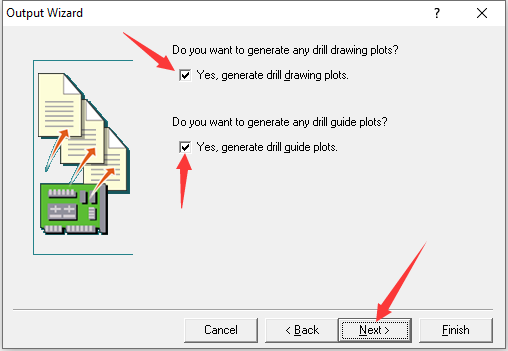
On the following menu, select all of the options under “Plot”. Be sure to keep all of the options under “Mirror” unselected, as this avoids the potential of your board layer being produced upside down.
On the following menu, leave the default boxes checked and select Next.
On the following menu, select Characters and leave the rest of the options as their default value.
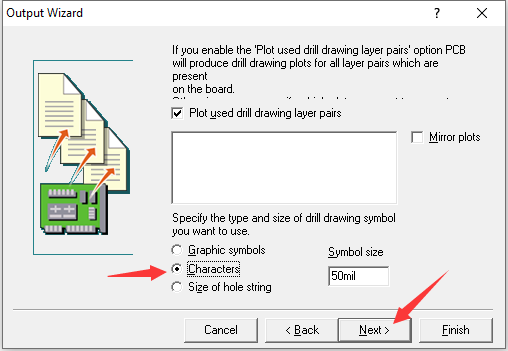
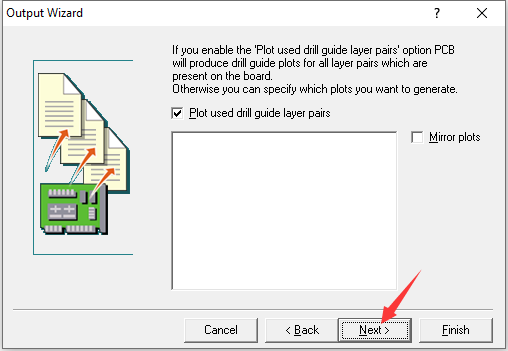
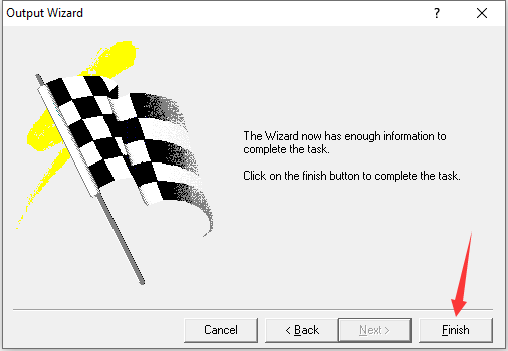
For the remaining three menus, select Next > Next > Finish.
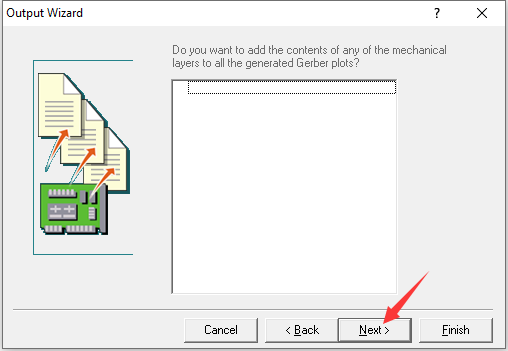
The Gerber files have now been created (except for the drill files)
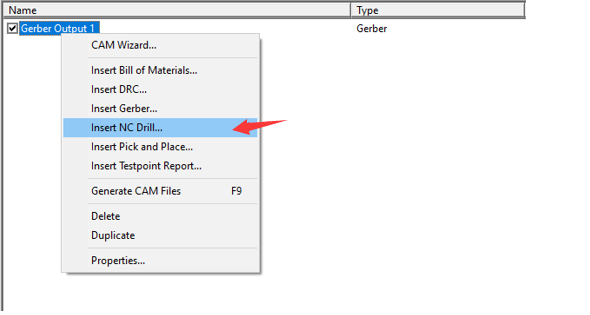
To generate the drill files, right-click in the space and select “Insert NC Drill…”
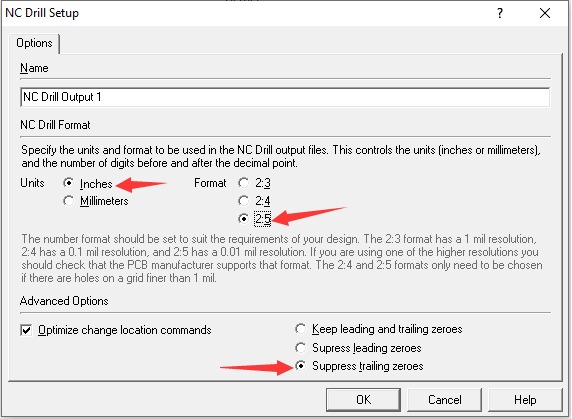
On the following menu, select units as “Inches” (default) and again change the format to 2.5. Keep the optimize change location commands checked and check “Suppress trailing zeroes”. Click OK.
The Gerber files and drill files have now been created. To export them, right-click and select “Generate CAM files”.
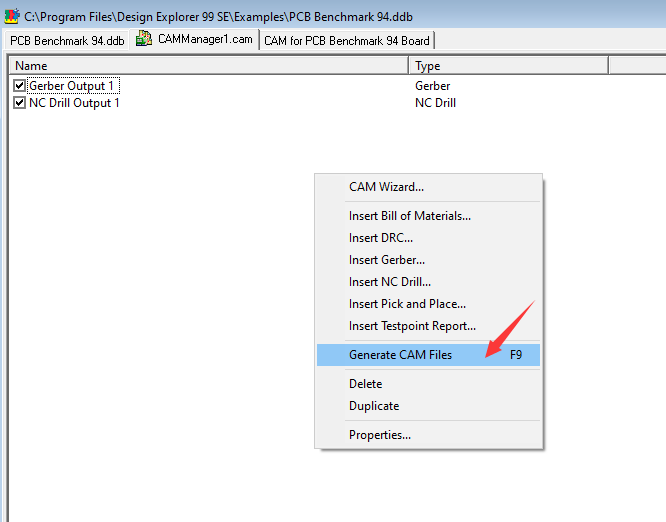
A “CAM for (file name)” folder will be created in your catalogue.
Right-click on the created folder and choose “export”. Select where you’d like to export your files.
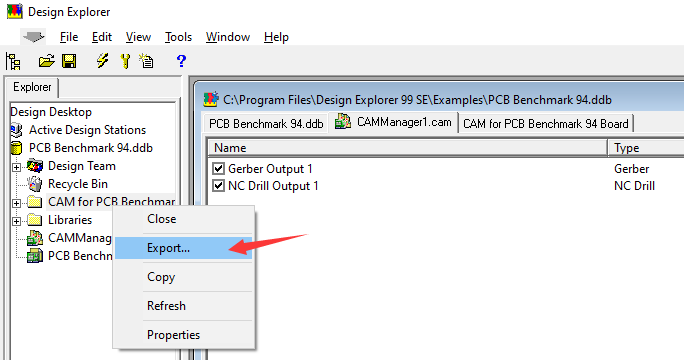
Once completed, you will find your generated Gerber and drill files in that folder.
Related Articles:
Please briefly describe the information you are seeking in the search bar below.