


 English
TURN-KEY PCB ASSEMBLY: BITTELE ELECTRONICS
PCB MANUFACTURING AND ASSEMBLY
Full Turn-Key PCB Manufacturer
You can quickly get quotes and order PCB fabrication and assembly using our online system. Take advantage of exclusive automatic discounts with our tool. Our BOM pricing tool ensures you receive the lowest price for your order.
START A TURN-KEY PCB ORDER
How to Export Gerber Files from AutoCAD
The purpose of this document is to assist Bittele’s clients in the process of generating Gerber files using the AutoCAD software suite. Bittele asks that its clients to supply their PCB Design Files in this format because Gerber is the industry standard file type, and is therefore easily recognized and processed by our manufacturing equipment. We recognize that this procedure may not be familiar to all of our clients, and so we will proceed with a step-by-step description in the following section.
Generating Gerber Files
This guide assumes that you have finished designing your PCB within AutoCAD, and that you have a stored file in .dwg format. AutoCAD is not intended specifically for PCB design, and although it can be used to lay out simple boards, it lacks certain PCB-specific functionality found in other software suites such as Altium Designer, KiCAD, DipTrace, Ultiboard, Eagle, and many others. Specifically, the AutoCAD environment does not by default allow for exporting your design to industry-standard Gerber format.
A third party solution is required for the conversion for .dwg to Gerber, and Bittele has found that the most straightforward of these is the EasyGerb plug-in by Numerical Innovations. Free trials of this software are available by sign-up on the Numerical Innovations website.
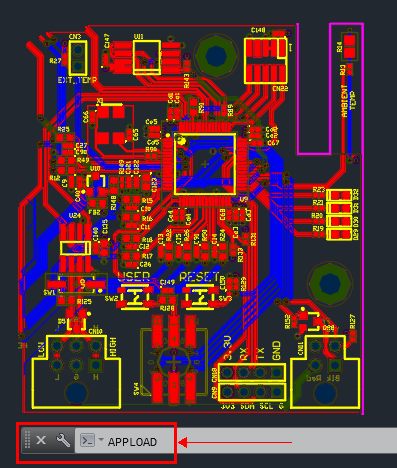
Once EasyGerb is installed it must be loaded into AutoCAD using the APPLOAD command at the command prompt. Note that this command need only be run once; next time you launch AutoCAD, EasyGerb will be immediately available for use.
Navigate to the folder where EasyGerb is installed (by default "C:\Numerical Innovations\EasyGerb\"), and select the version that matches your AutoCAD install; this guide is using AutoCAD 2019.
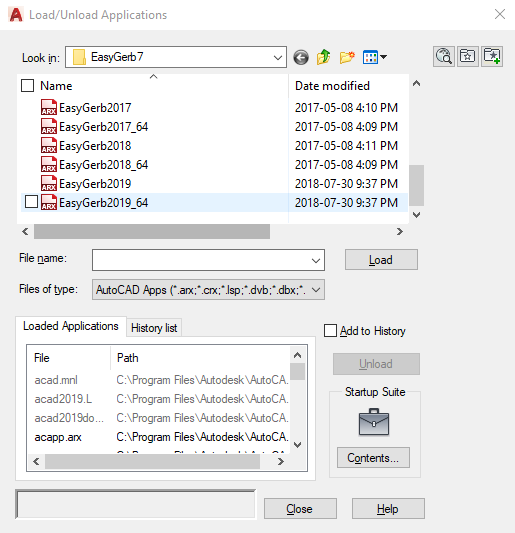
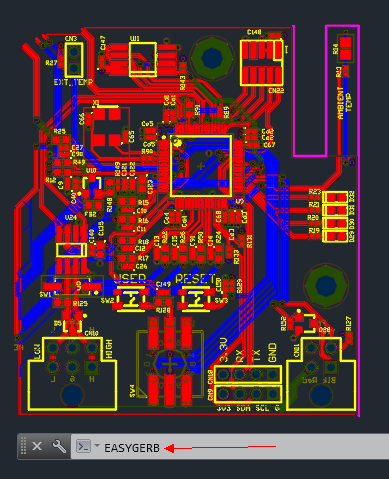
Select the file and click “Load”, and AutoCAD should then display a message that EasyGerb has been successfully loaded. To start the application, enter “EasyGerb” at the command prompt.
In the EasyGerb window, select your desired output folder, and leave other setting at their default values; Click OK.
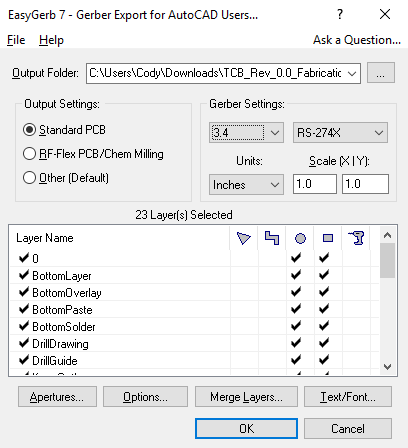
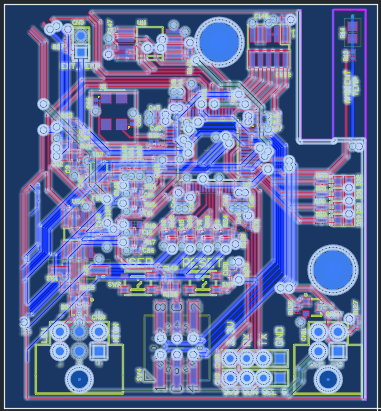
Use the selection tool to highlight your design, and press Enter.
The files are now output successfully in Gerber format, and a pop-up window will allow you to navigate directly to the output folder if you wish.
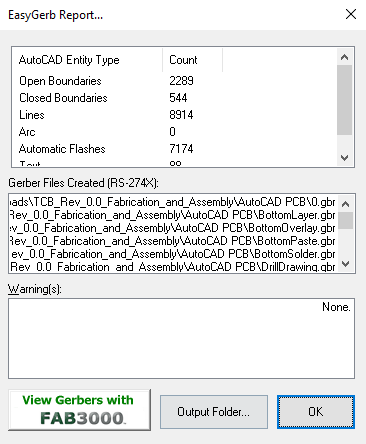
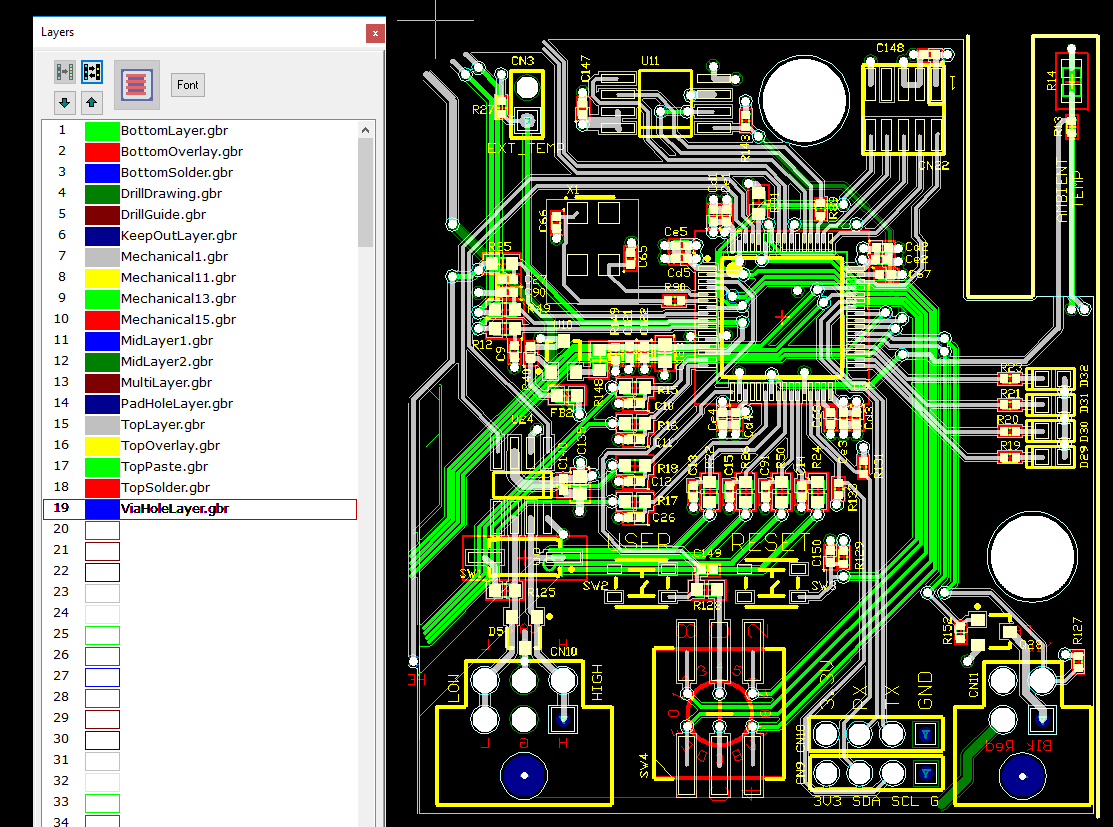
Finally, you should briefly check the generated Gerber files using a Gerber viewer, to make sure the translation from AutoCAD was successfully completed.
This guide’s aim has been to describe the procedure for generating Gerber files as simply and completely as possible. If you still find yourself unclear on any part of the process, please do not hesitate to contact a member of the Bittele sales team by sending an email to sales@7pcb.com, or calling us toll free at 1-888-812-1949. We are happy to help with any queries.
Related Articles:
Please briefly describe the information you are seeking in the search bar below.